I've agreed to paint up a set of figures for Bill Armintrout at The Miniatures Page (the website for minis fans) - a starter set for WarChest from Lance and Lasers. And I've decided to turn it into an article about my painting technique, such as it is. Or at least how I paint them right now - it's changed quite a bit over the year. Here goes with part one - preparation.
fulltext:
 The Victims
Here we have what will soon be the unfortunate victims of my paint brush - a starter set for Warchest - from what I'm told these are the Kotharians - six 25mm scale fantasy "viking" style figures plus a treasure chest.
First step, get them out of their blister packs. I always save the plastic portions of the container - removed from the board, these can be handy as storage bins for stuff or something to mix paints in.
 Prep for Priming
The next step is to prepare the figure for priming. This involves trimming any flash off the figure - flash is the left over bits of metal that are sometimes left hanging off figures from the molding process. These can usually be removed with a nail clipper or sharp knife. Then look for any mold lines, and file those suckers down!
 Priming
Priming the figures is really quite simple really - after they've been prepped, take them to a well-ventilated place and give them an even spraying of spray paint. I know some prefer only certain kinds of spray paint, etc - but I've really never had any problems with the cheapo stuff. I think I used Meijer's brand flat white spray paint. I've experimented a bit with black primer, but never really like it, so it's white primer for me.
On to the painting!
Part II
Starting with Skin
You've no doubt read in other painting articles (if you've read any) to paint "from the inside out." In other words, paint the lowest levels of the figure first (generally the skin) and work your way out through clothes, armor, etc. I'd like to say I have some radically different way to do it, but I don't - I do exactly the same thing. I start with a Tamiya skin color (forget the name) and just do a base coat. I used to use Ral Partha's caucasian skin color almost exclusively (at least for "white" skin) but my pot of dried up long ago and I've been trying to find a replacement. This stuff is OK, paints on well but is a little too orange for my taste. Oh well.
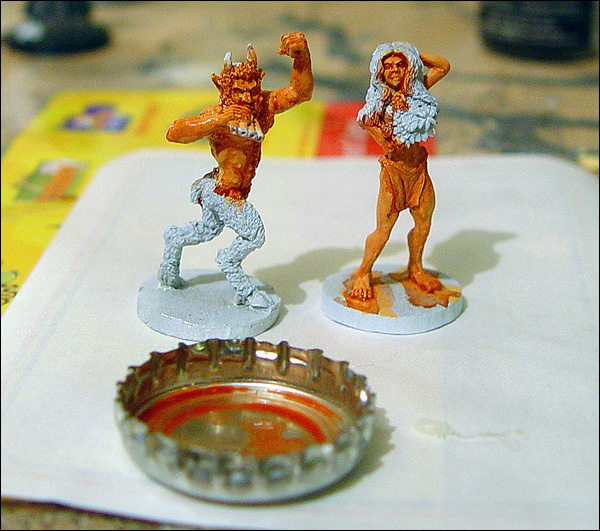
Washing the Skin
My next step is to put a wash on the skin to give it some depth and texture. For this I generally use some sort of burnt umber color. In this case it's a water based paint, which I water down with plain old tap water with a tiny bit of floor cleaning fluid to break the surface tension and make a good wash. It still looks awful red, although it doesn't look quite as bad in reality as the camera makes it look for some reason.
I like to use beer bottle caps for mixing small amounts of paint - I have lots of them...
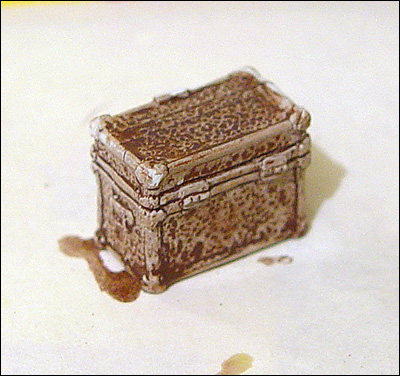
The Treasure Chest
A quick look at the treasure chest - I just start this one with a wash of dark brown. The paint is from Reaper, it's the kind tha tcomes in those little squeeze bottles - I really like that as it makes it easy to measure, and I'm less likely to spill it all over my work area...
You'll notice that the wash overlaps all the metalwork of the chest...
 Clean Up
One thing about using washes for base coats is you tend to get it all over the place. That's why it's good to start with the skin if you're going to do this - nothing else has been painted, so fixing it's pretty easy. I just go back with some white paint and "re-prime" the areas that got messed up I think they'll benefit from it. In this case I know I'm going to be using a light color on the hair of these figures, which may not cover as well over the dark wash, so I want to get the hair parts back to a nice clean white.
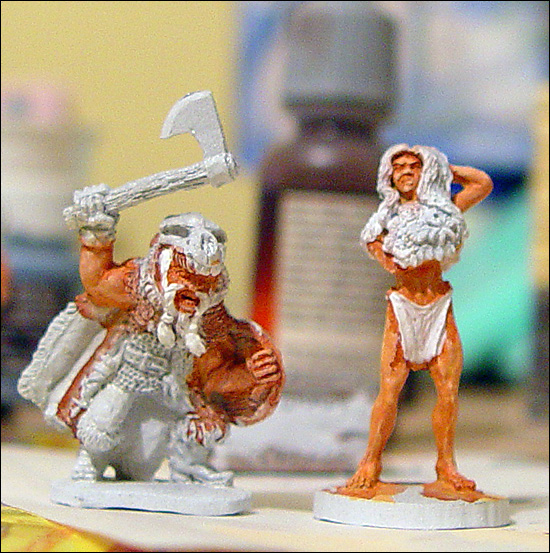
 Blond Hair and Chain Mail
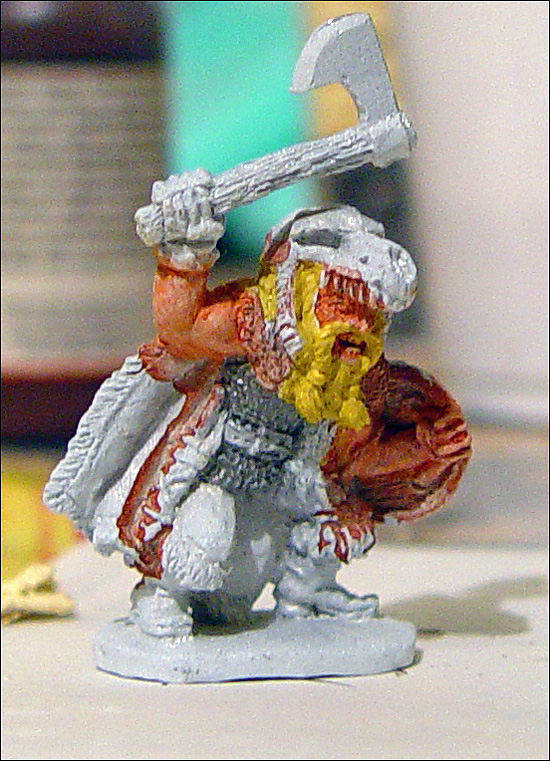
I've decided to make one of the two axe wielders blond, along wth the woman... Kind of fits the whole viking thing. I generally do blond hair by putting a base coat of yellow. It's a cheap "craft" type brand of paint, I believe the color is called "goldenrod." Anyways, it's always worked quite well for me.
I also went ahead and painted his chain mail with an non water-based Testor's steel paint. I generally use acrylic for everything except for metals, and occasionally for some "modern" uniform colors like olive drab. This has the benefit that later I'll come back and put a thin black wash down on the chain mail which will help highlight the texture of the armor - and a water based wash can't start to dissolve the non water-based paint it's going on top of.
Dry brushing the skin
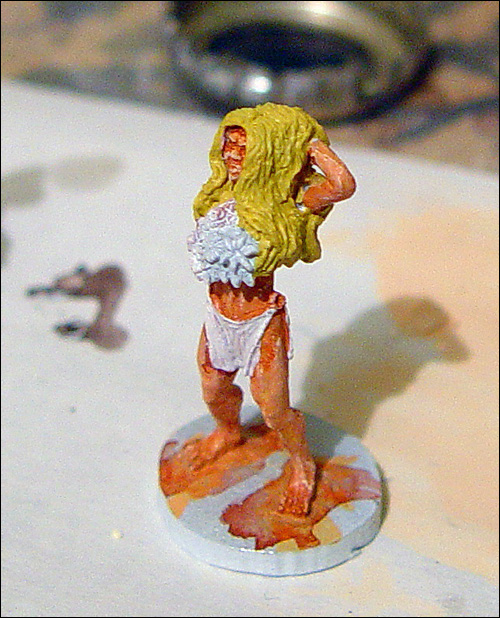
Here is the woman, also with the same blond hair base color. I've also dry-brushed the skin portions of the figure with the same base color I originally used for the skin. On the paper behind her you can see that color. It helps add a little more highlight to the skin, etc.
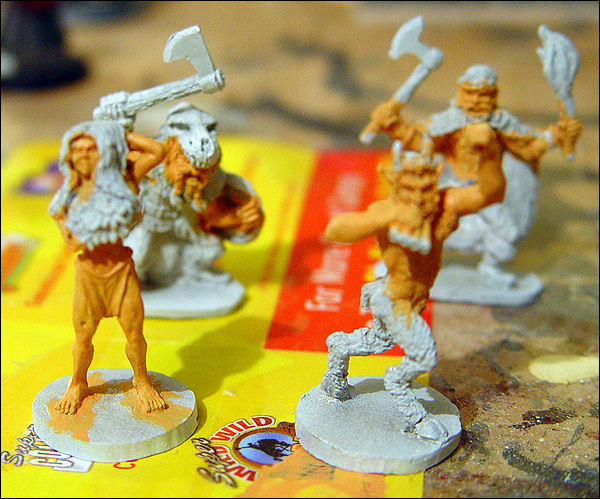
 The Victims so Far
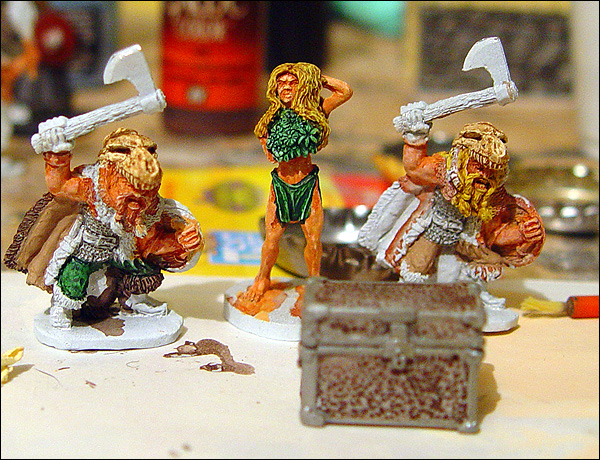
Here you see a number of the figures - I'd say they're about 1/4 done now. I've used a wash of dark green (another craft paint) fro the flowers and loin cloth on the woman, as well as the pants on one of the axemen. I've also put down another wash of dark brown for the fur cloak of the axman on the left, and painted the under surface of the cloak a light brown/tan color - also an acrylic craft paint. I used the same tan color for the pants of the other axeman. If I have two copies of the same mini like this, I like to try to vary their color schemes a bit to give them some individuality - especially in this case when I don't think these are supposed to be soldiers in some sort of uniform. I've also painted the metal portfions of the chest with the same Testor's steel paint I used for chain mail a couple pictures back. Also, I've painted the skull helmets on the two axemen - a base coat of an ivory craft paint, followed with a brown wash - same brown color I've used before on the chest, etc.
That's enough for now, stay "tuned" for the next part!