 This is an article that will detail my method (and experiments) with modular terrain boards. The idea is to create a series of mostly flat 12" square terrain boards that can be used in different combinations to create terrain for wargames. I say mostly flat because most of them are flat - any elevation is created using hills that are placed on the boards. Depressions (such as rivers) are created "in" the boards however.
Materials - 12 inch square floor tiles (60 cents at HOme Depot), tan-colored latex paint (from the "oops" rack, was $7 or so as I recall), sand and "reptile litter" (pebbly stuff from a pet store, not expensive), black and brown acrylic paint, flock and static grass from the hobby shop (Woodland Scenics brand)
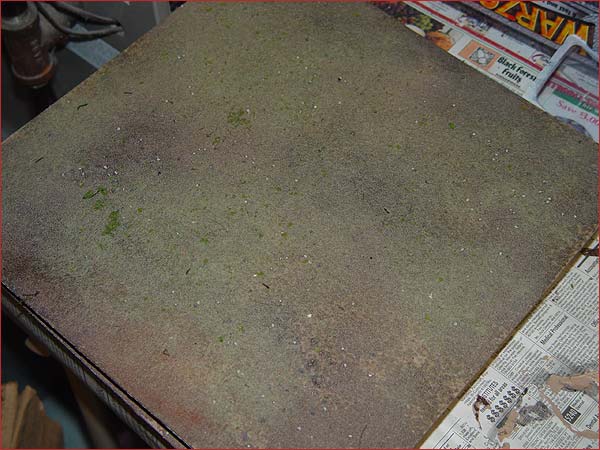
Step 1: Coat the floor tile with a generous coat of latex paint. I'm using a tan colored paint I got cheap from the "oops" rack at a local DIY store. Then sprinkle on your sand and pebbles. Let it dry fully - this can take quite a while. After it's dry knock off any loose sand/pebbles.
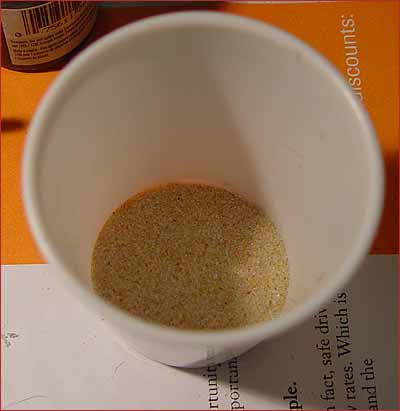 Sand |
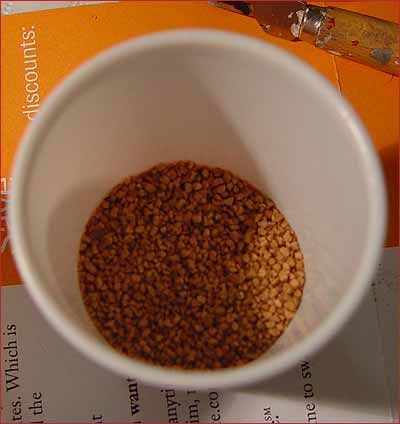 Pebbles |
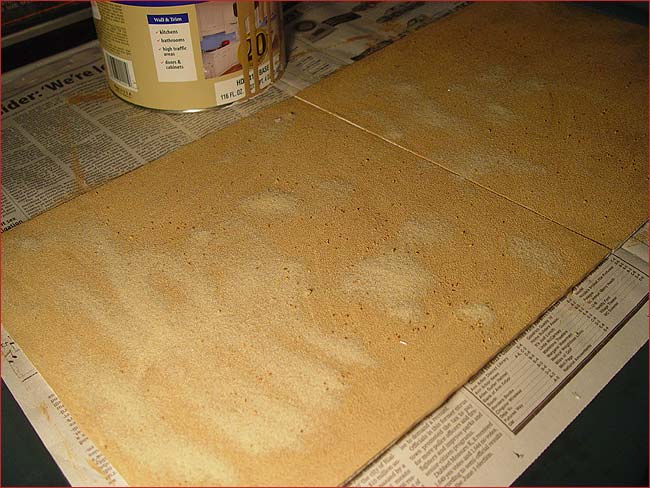 Drying Boards |
Step 2: Coat the board with a second coat of the latex paint, to seal down the sand and pebbles, and make them all the same color. Then apply a wash of dark brown. I make this with cheap acrylic craft paints, watered down with a mixture of clean water and a bit of soap (to break the surface tension). As I coat the board, I like to work in lighter and darker shades of brown to give the surface some variety of color (althought it looks a bit too dark in the pic below).
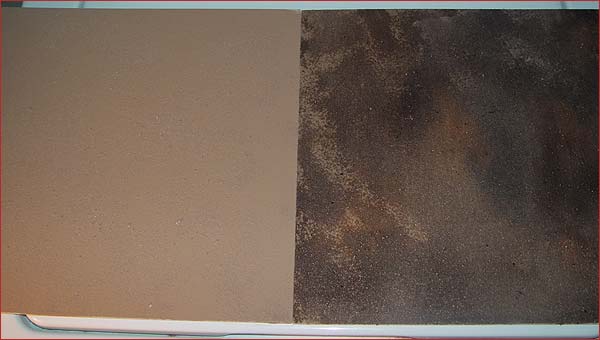
Unwashed and washed boards
Step 4: After the wash on the boards has dried, apply any flock or static grass you wish to use. You could coat the board with a watered mixture of white glue - but I use a spray-on glue that I picked up in the hobby store. Just spray down the board, then sprinkle on the grasss and flock, followed by another coat of glue to hold it on.
 Finished Board |
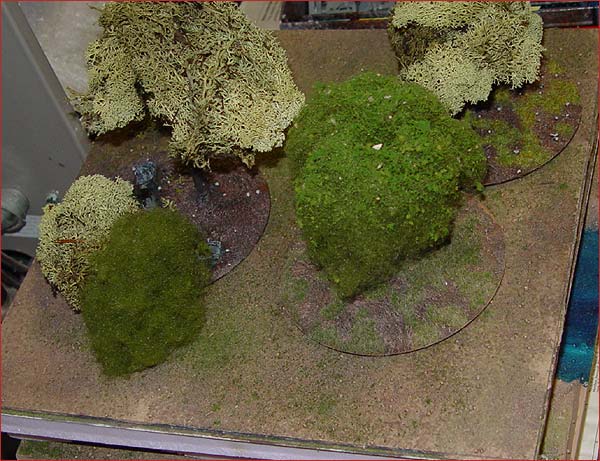 Another finished board, with tree stands |
Creating Elevation
You can leave the boards as they are, but I've decided to add "risers" of 3/4" insulation foam to give each board some height. This allows me to create special boards with depressions such as rivers or trenches in them. The banks on the river below were created from 3/4" insulation foam. The river itself was created with dark blend and light blue acrylic paint, blended and coated with several coats of glossy sealer. I'm not 100% pleased with the effect, but hopefully will improve with future boards.
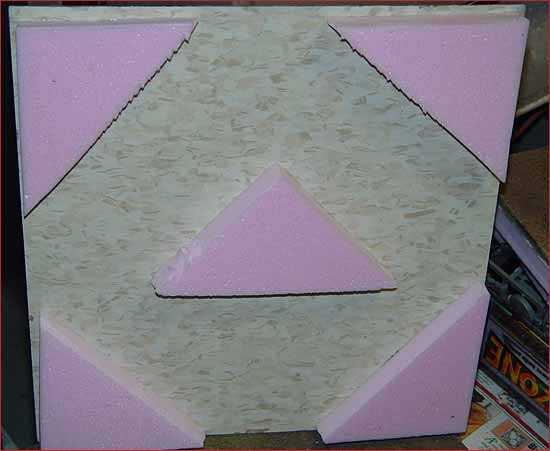 The "risers" - note the arrangement - the tiles will start to "sag" if not supported sufficiently. |
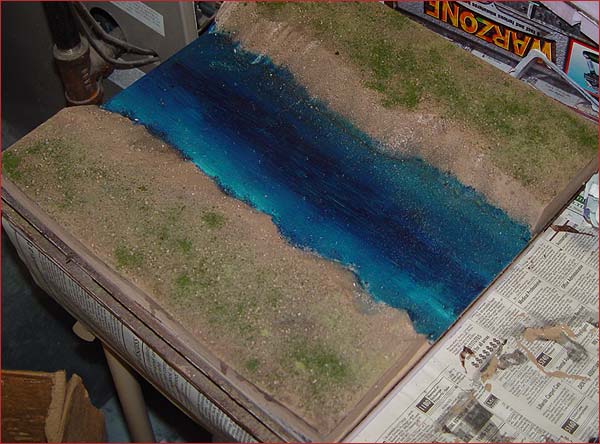 A river board |